Water damage repair is one of a homeowner’s biggest headaches. When water starts making an unwanted appearance in your home, it’s time to call in the professionals before things go from bad to worse. Trying to clean up and repair water damage on your own is honestly an exercise in futility (and frustration!). Between special drying equipment, moisture detection tools, and expert remediation techniques, mitigating water issues is best left to the pros.
Before calling a restoration company, we’ll explore all aspects of residential water damage repair. From the first steps you should take after spotting a leak, to the science behind drying out buildings properly, to repairing and restoring damaged materials – we’ve got you covered. You’ll learn what to expect from professional water mitigation teams and how they use specialized methods to save your home from secondary damage like mold.
What is Water Damage?
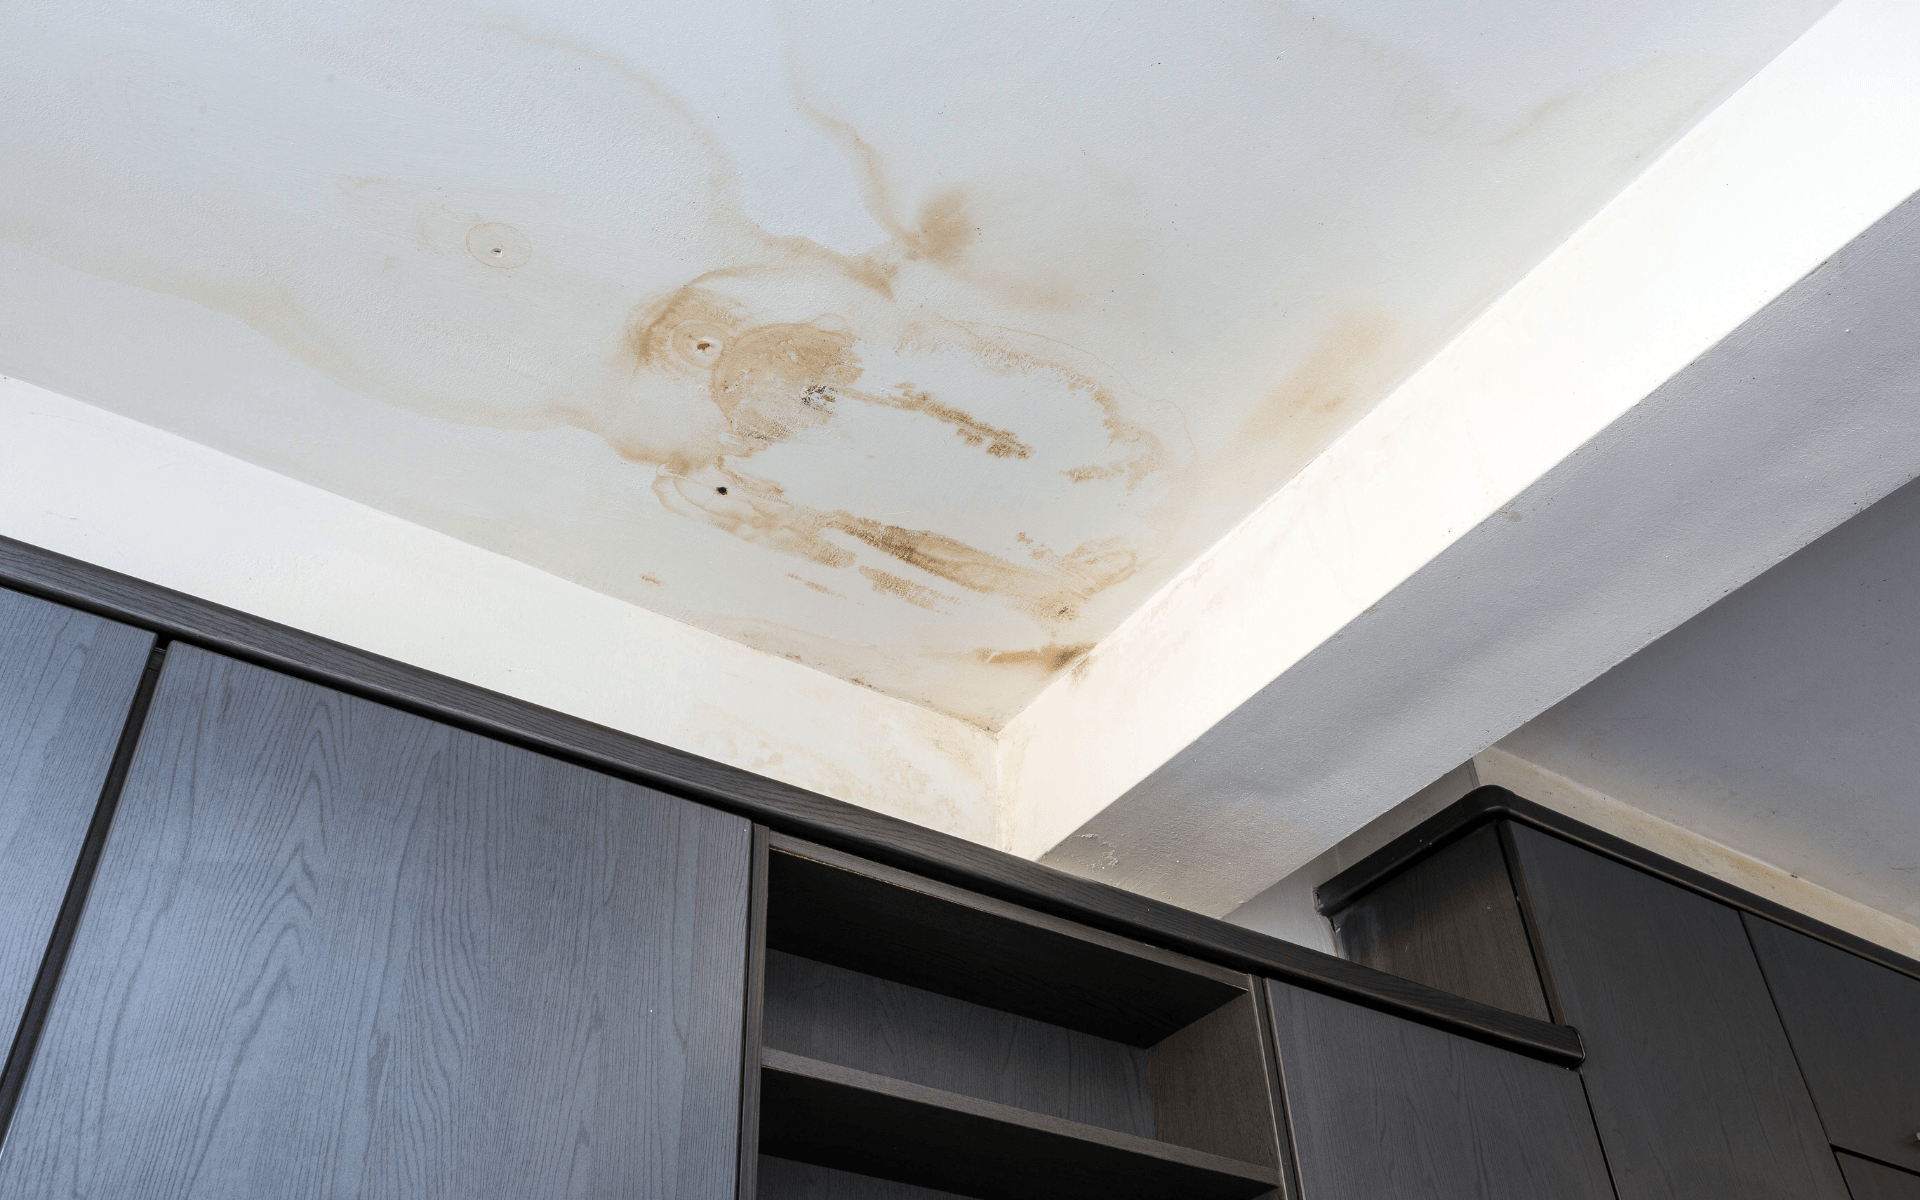
Water damage refers to any harm, deterioration, or loss of value to a home or personal property caused by water invading where it doesn’t belong. This excess water can come from multiple sources like burst pipes, appliance leaks, heavy rains, flooding, sewage backups, and groundwater seepage.
Water damage ranges from minor issues like isolated water spots on walls and floors to major catastrophes like widespread flooding. It leads to moisture issues that degrade, warp, rust, erode, mold, and destroy materials in a home. The longer water saturates a space, the more extensive the damage can become.
Even small accumulations of moisture that go unaddressed can evolve into costly repairs, dangerous mold growth, and structural weaknesses. That’s why it’s critical to identify and remedy any water damage immediately to prevent it from advancing. Effective drying and restoration of affected materials will protect your home.
Types of Water Damage
The first step is assessing the type of water damage in your home. This can help pinpoint the source and determine the best repair approach. Common types of residential water damage include:
- Burst pipes: Pipes can burst from pressure buildup, freezing temperatures, corrosion, ground shifting, or physical impact. This causes water to gush out and flood surrounding areas.
- Leaking pipes or appliances: Slow leaks from deteriorating pipes, water heaters, dishwashers, washing machines, and other appliances can cause water seepage over time. This can go unnoticed until a wall or ceiling damage occurs.
- Sewage backups: Blockages in sewer lines can back up waste through drains and toilets, flooding the basement or ground floor with contaminated water.
- Flooding: Heavy rains, blocked gutters, and natural disasters can all lead to flood waters invading the home. Coastal flooding from storms or high tides is also common.
- Groundwater seepage: High groundwater levels or excessive moisture in the soil around the foundation can cause water to seep into basements or crawlspaces.
Once you categorize the type of water damage, you can more easily identify the source of slow leaks, needed repairs, and how to prevent future issues.
Signs of Water Damage are New or Old
Determining how long water has been invading your home can help assess the extent of damage and needed repairs. Here are signs of new vs. old water damage:
New Water Damage Signs:
- Standing water or visible moisture
- Water-stained but not warped or rotten materials
- A recent water source was identified as a burst pipe
- Mildew or mold just beginning to form
- Freshwater stains and soaked materials
- The paint not yet cracking or peeling
Old Water Damage Signs:
- No visible water but the materials feel damp
- Warped, cracked, or decaying surfaces
- Mold spreading across walls or ceilings
- Peeling paint or crumbling drywall
- Soft, spongy floors or carpets
- Strong musty odor indicating mold growth
- No identification of a recent water source
The longer water seeps or stands, the more extensive damage it causes. Catching it early is key to simpler repairs. Don’t ignore small leaks or stains so they don’t evolve into major headaches. Monitor your home and be attentive to any signs of fresh moisture.
Risks of Untreated Water Damage
Leaving water damage untreated allows preventable damage to worsen and poses health hazards. Potential risks include:
- Structural damage: Untreated moisture in walls, floors, and foundations weakens integrity. This requires extensive repairs.
- Mold growth: Excess moisture allows mold to rapidly spread across surfaces. This creates respiratory hazards and forces full mold remediation.
- Warping & decay: Wet wood warps and weakens over time. Carpet and padding become ruined. Materials need a full replacement.
- Bacteria & allergens: Standing water breeds bacteria, mold, and pests creating indoor air quality issues.
- Vermin: Rats, bugs, and other vermin are attracted to damp conditions. They infest and spread disease.
- Unsafe electricity: Wet electrical systems short and create fire risks. Electrocution is also possible.
- Injuries: Weak, soggy floors and surfaces pose fall and injury hazards for occupants.
Don’t let small issues go unaddressed. Water damage only worsens over time and repairs become more invasive and costly. Act quickly to avoid preventable destruction of your home.
Immediate Response Steps
No matter the water damage source, it’s crucial to act quickly to mitigate damage and prevent mold growth. Here are important immediate response steps:
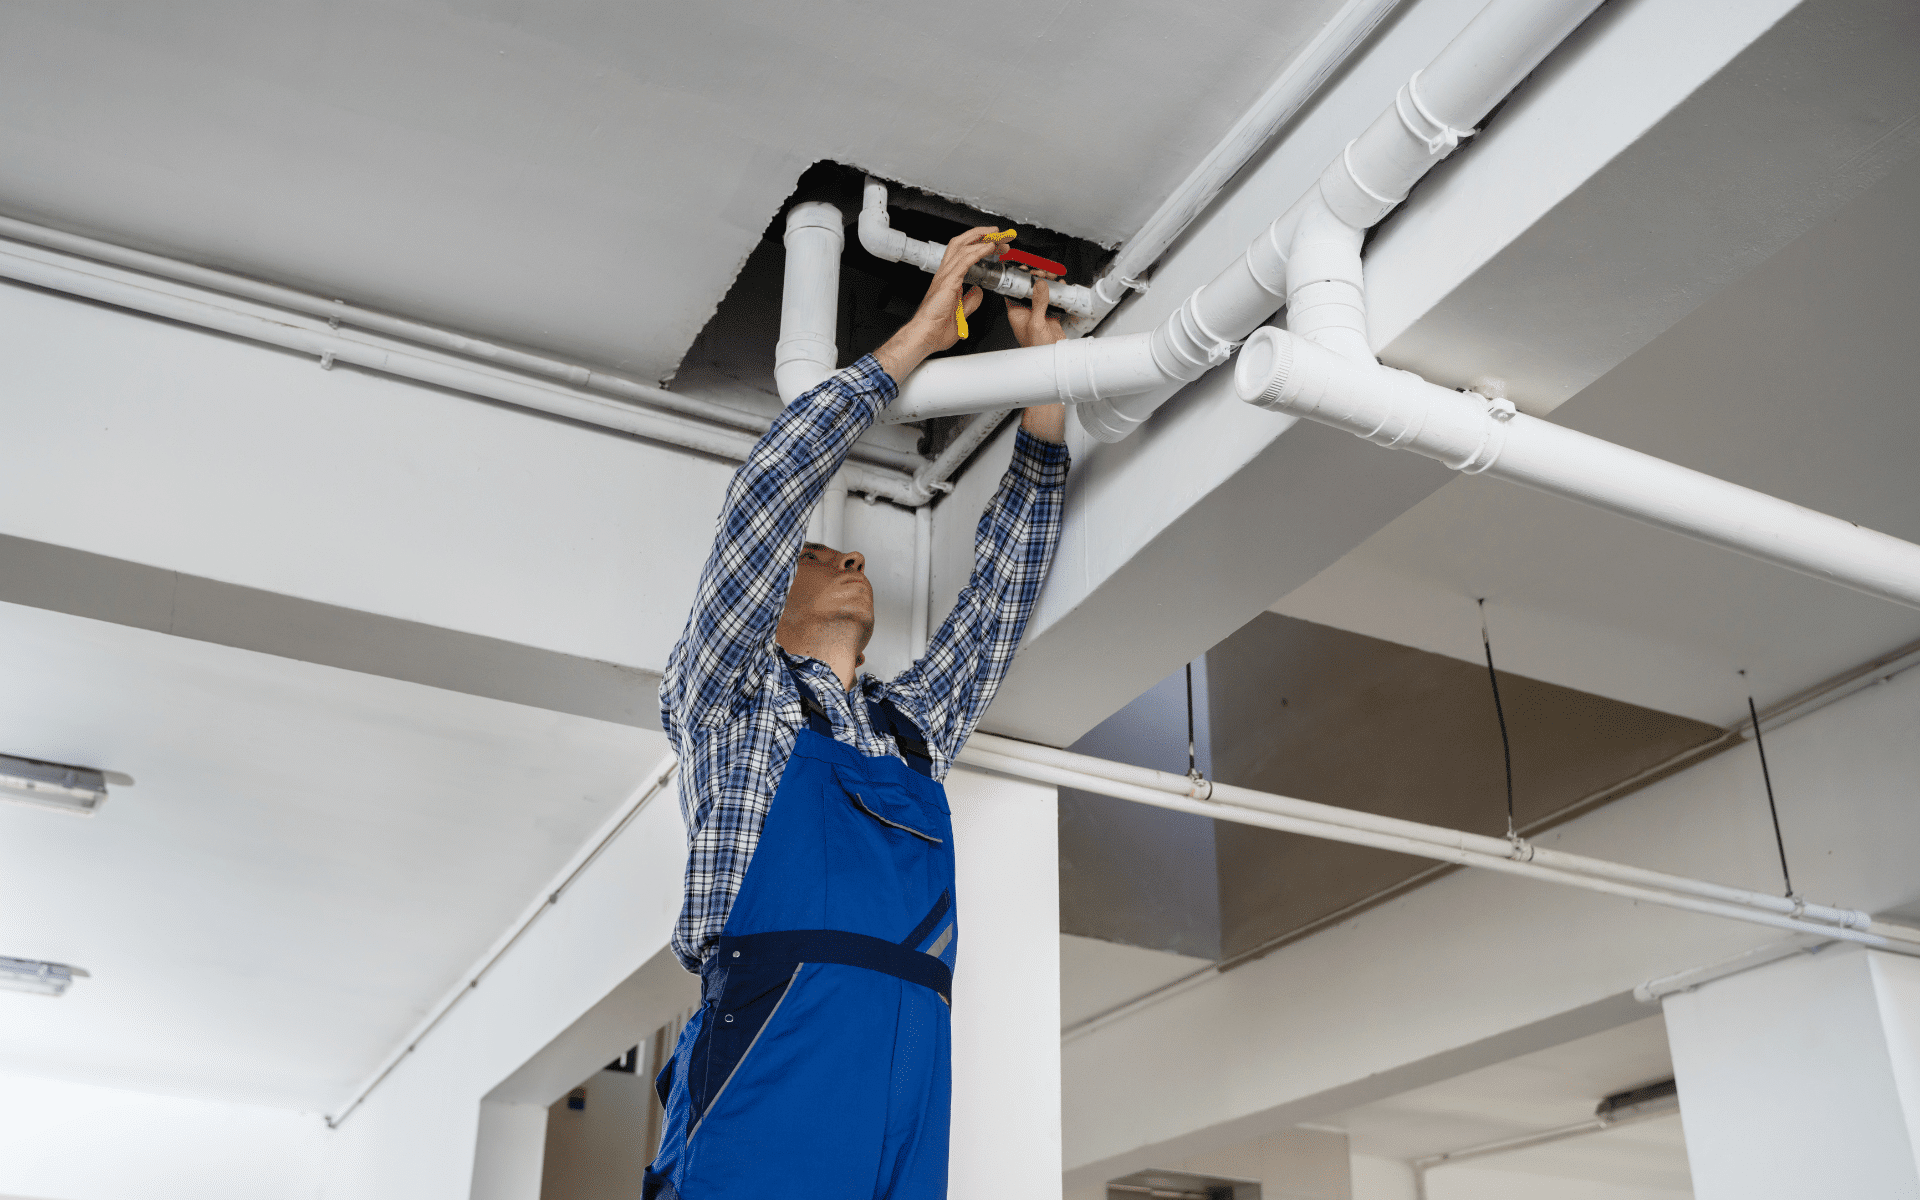
Turn Off the Water Supply
If a burst pipe or appliance is flooding your home, locate the main water shut-off valve and turn it off. This stops additional water from exasperating the issue.
Remove Excess Water
According to the Environmental Protection Agency (EPA), standing water should be removed within 24-48 hours to prevent mold growth. The EPA recommends calling in professionals for any flooding over 4 feet or flood water that sits for more than two days.
Use a wet/dry shop vacuum, sump pump, mops, and towels to remove standing water from hard surfaces. Soak up any surface upholstery water damage and lay out wet rugs, pillows, bedding, etc. to air dry.
Check for Structural Damage
Inspect walls, floors, and ceilings for sagging, cracks, or collapse. This indicates water-logged materials and structural issues to address.
Inspect Electrical System
Water and electricity don’t mix! Check electrical outlets and wiring in flooded areas for damage. Turn off power as needed to prevent electrical fires. Call an electrician for assessment help.
Look for Hidden Water
Water can spread under materials and emerge in surrounding areas. Inspect adjoining rooms, above and below-flooded spots, for any additional leaks or moisture.
Call Your Insurance Company
Most homeowners insurance policies cover water damage to homes and personal property. Contact them as soon as possible to start a claim.
Document the Damage
Take photos and videos of all affected areas for insurance and repair purposes. This provides proof of damage.
Mitigate Mold Risks
Open windows and use fans, dehumidifiers, and heating to dry out the home quickly. Remove wet materials and mop up residual moisture.
Acting clean water quickly helps secure safety, limits the spread of water, and sets repair work in motion.
The Water Damage Restoration Process
Once excess water is removed and immediate risks addressed, a more extensive restoration process can begin to repair damages and prevent mold growth. Here are the typical phases:
Emergency Services
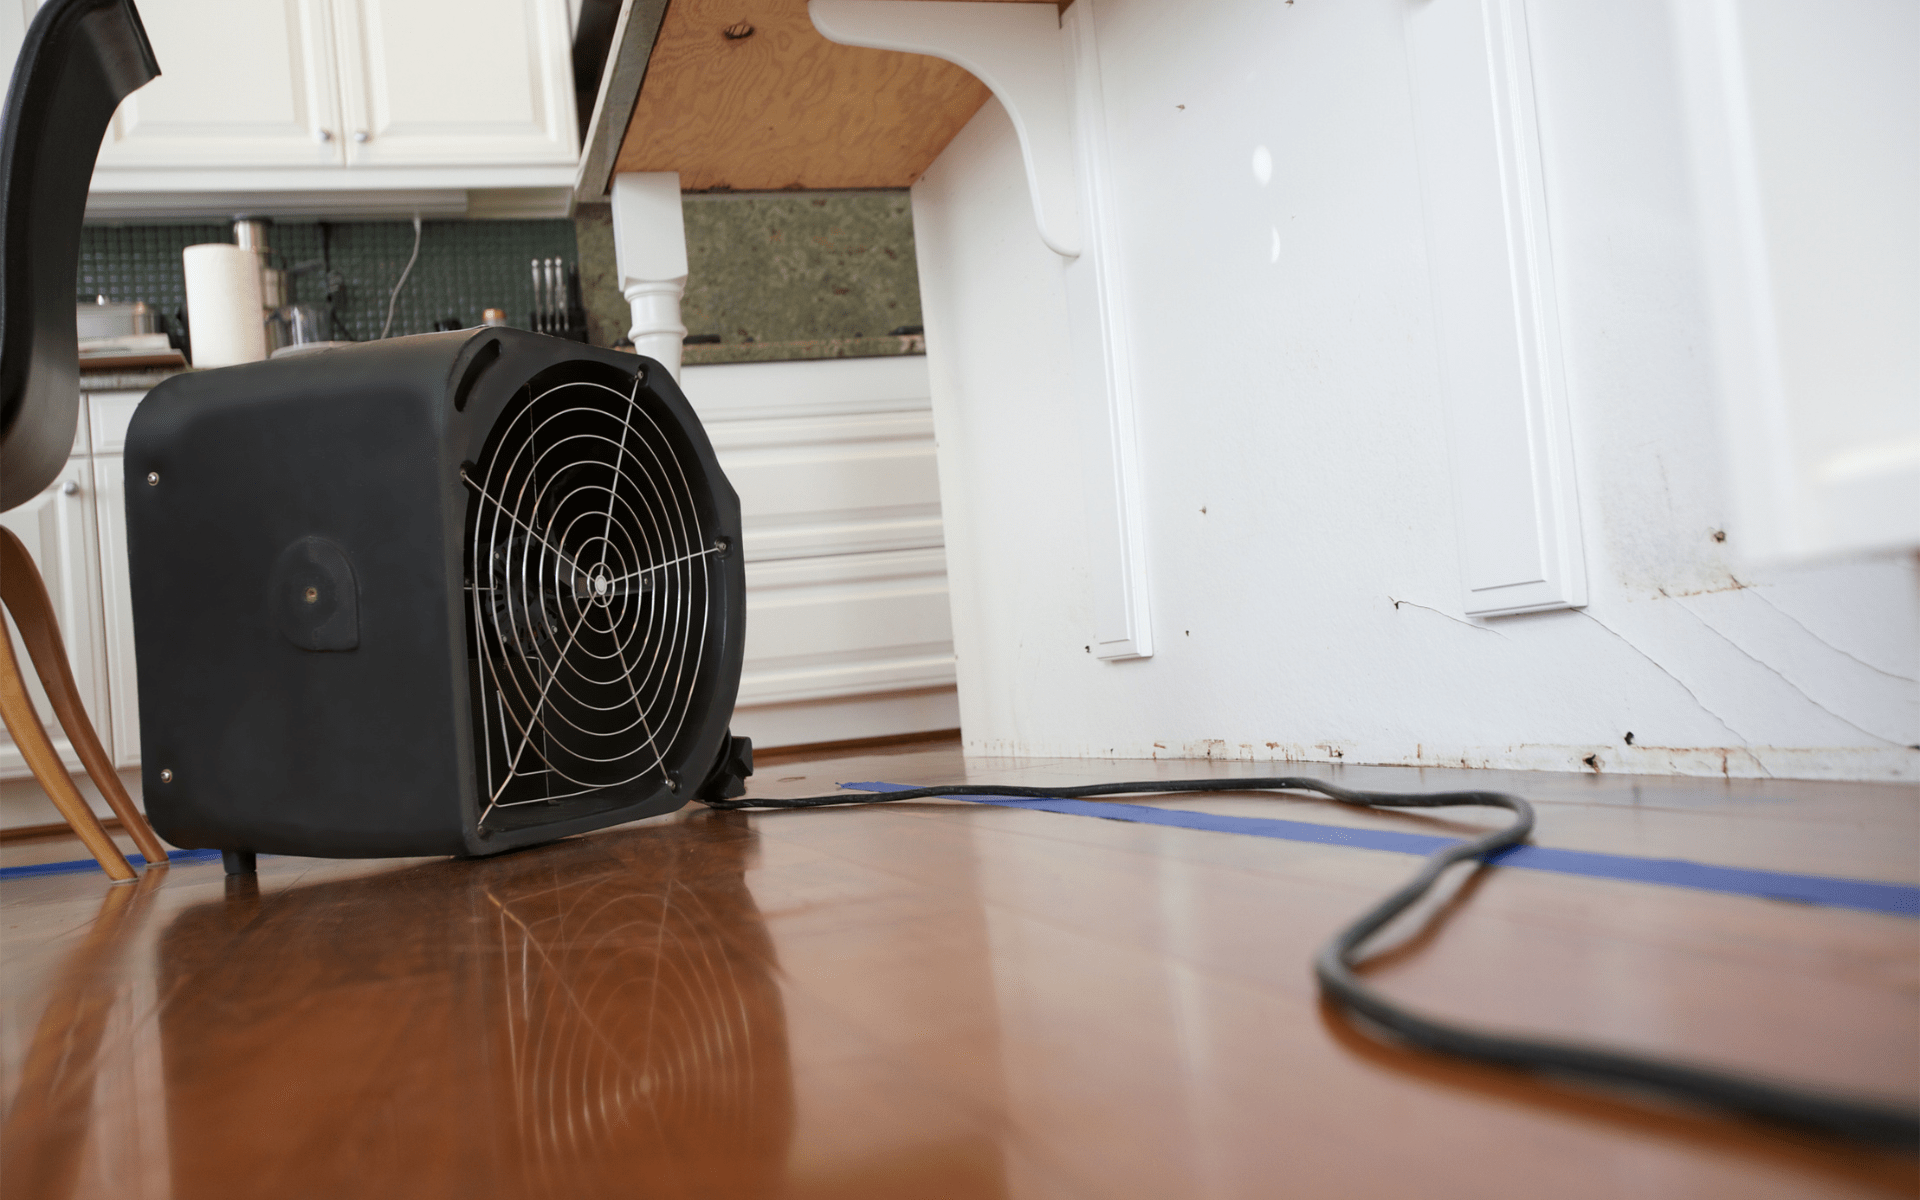
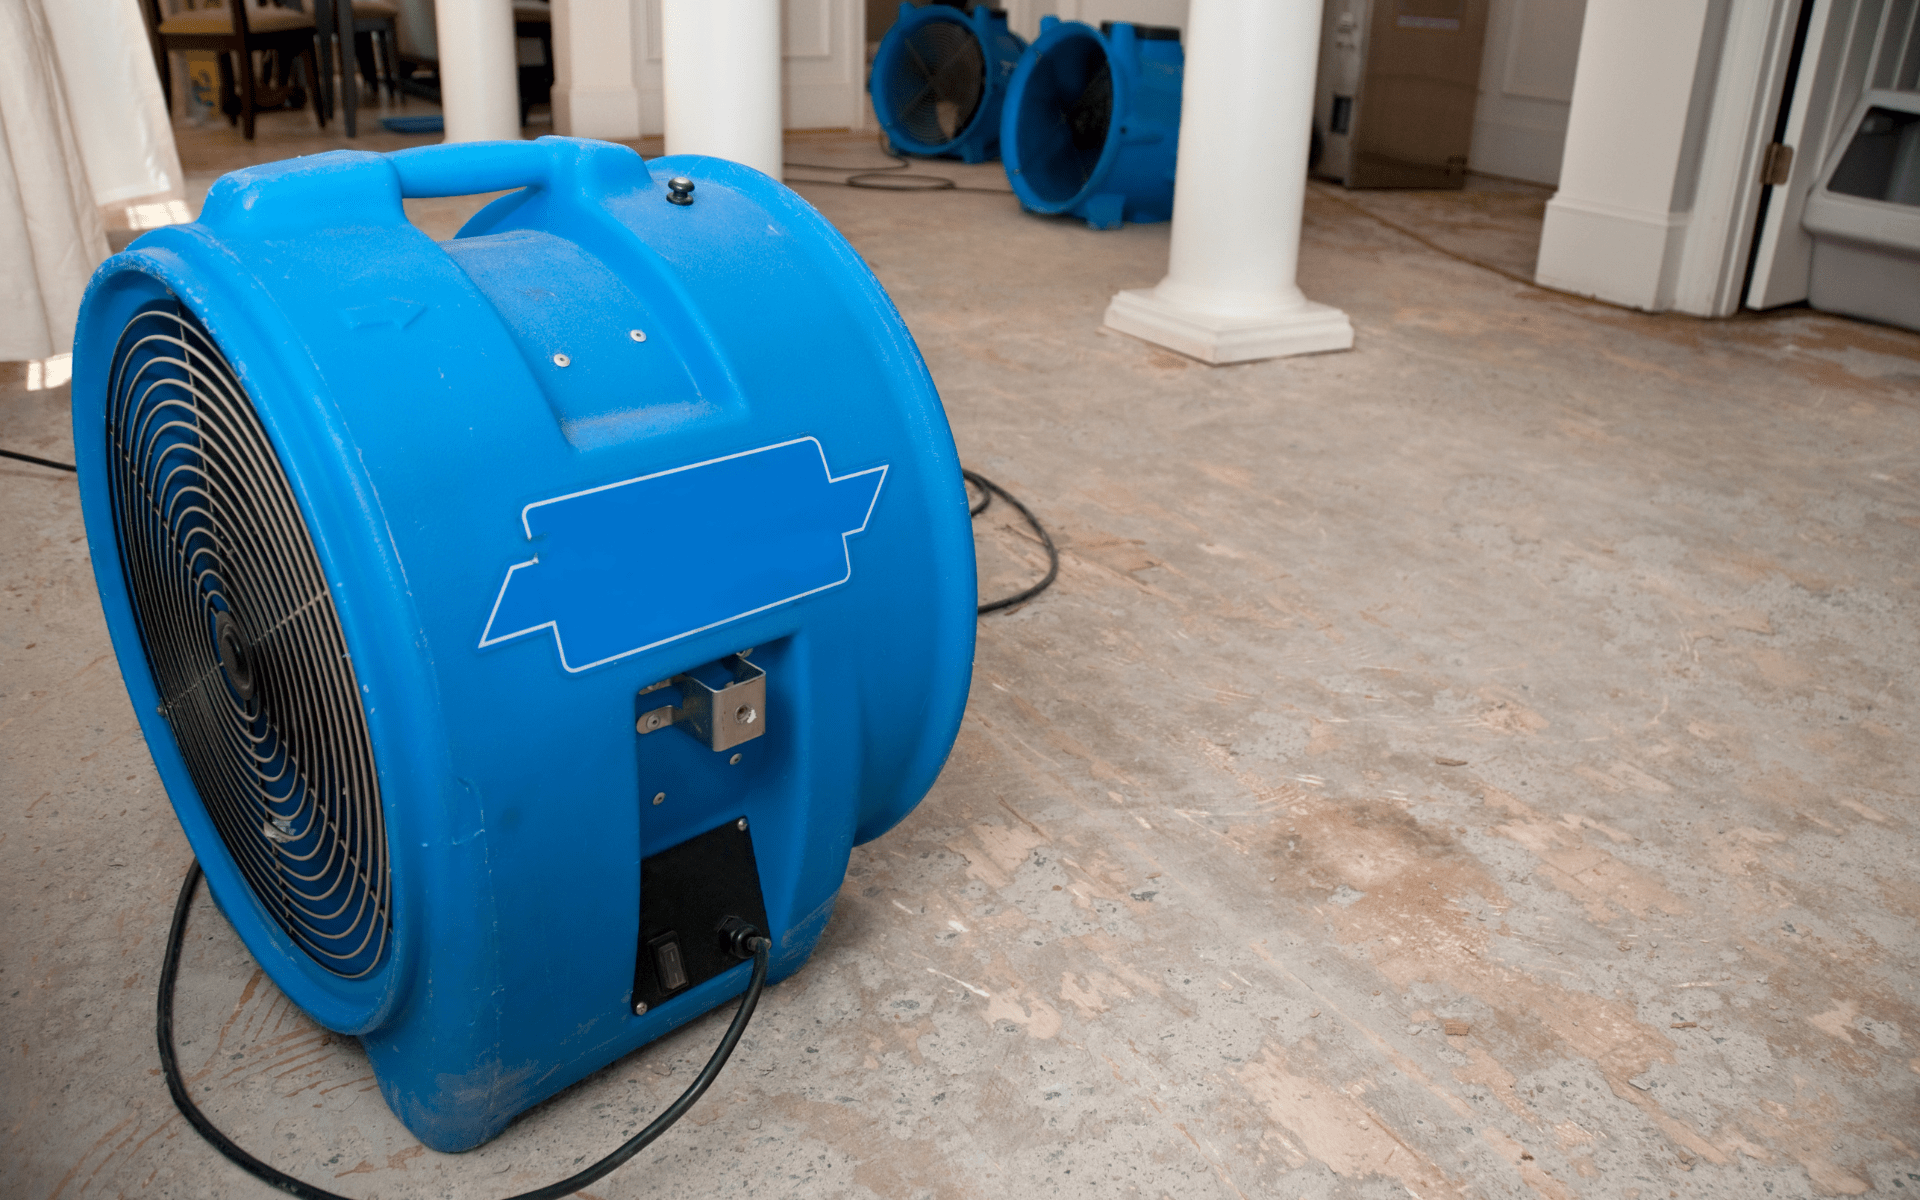
Specialized water damage companies offer 24/7 emergency services to start drying out a property right away. They use industrial fans and dehumidifiers to control moisture. This prevents further damage and mold growth during the early critical hours.
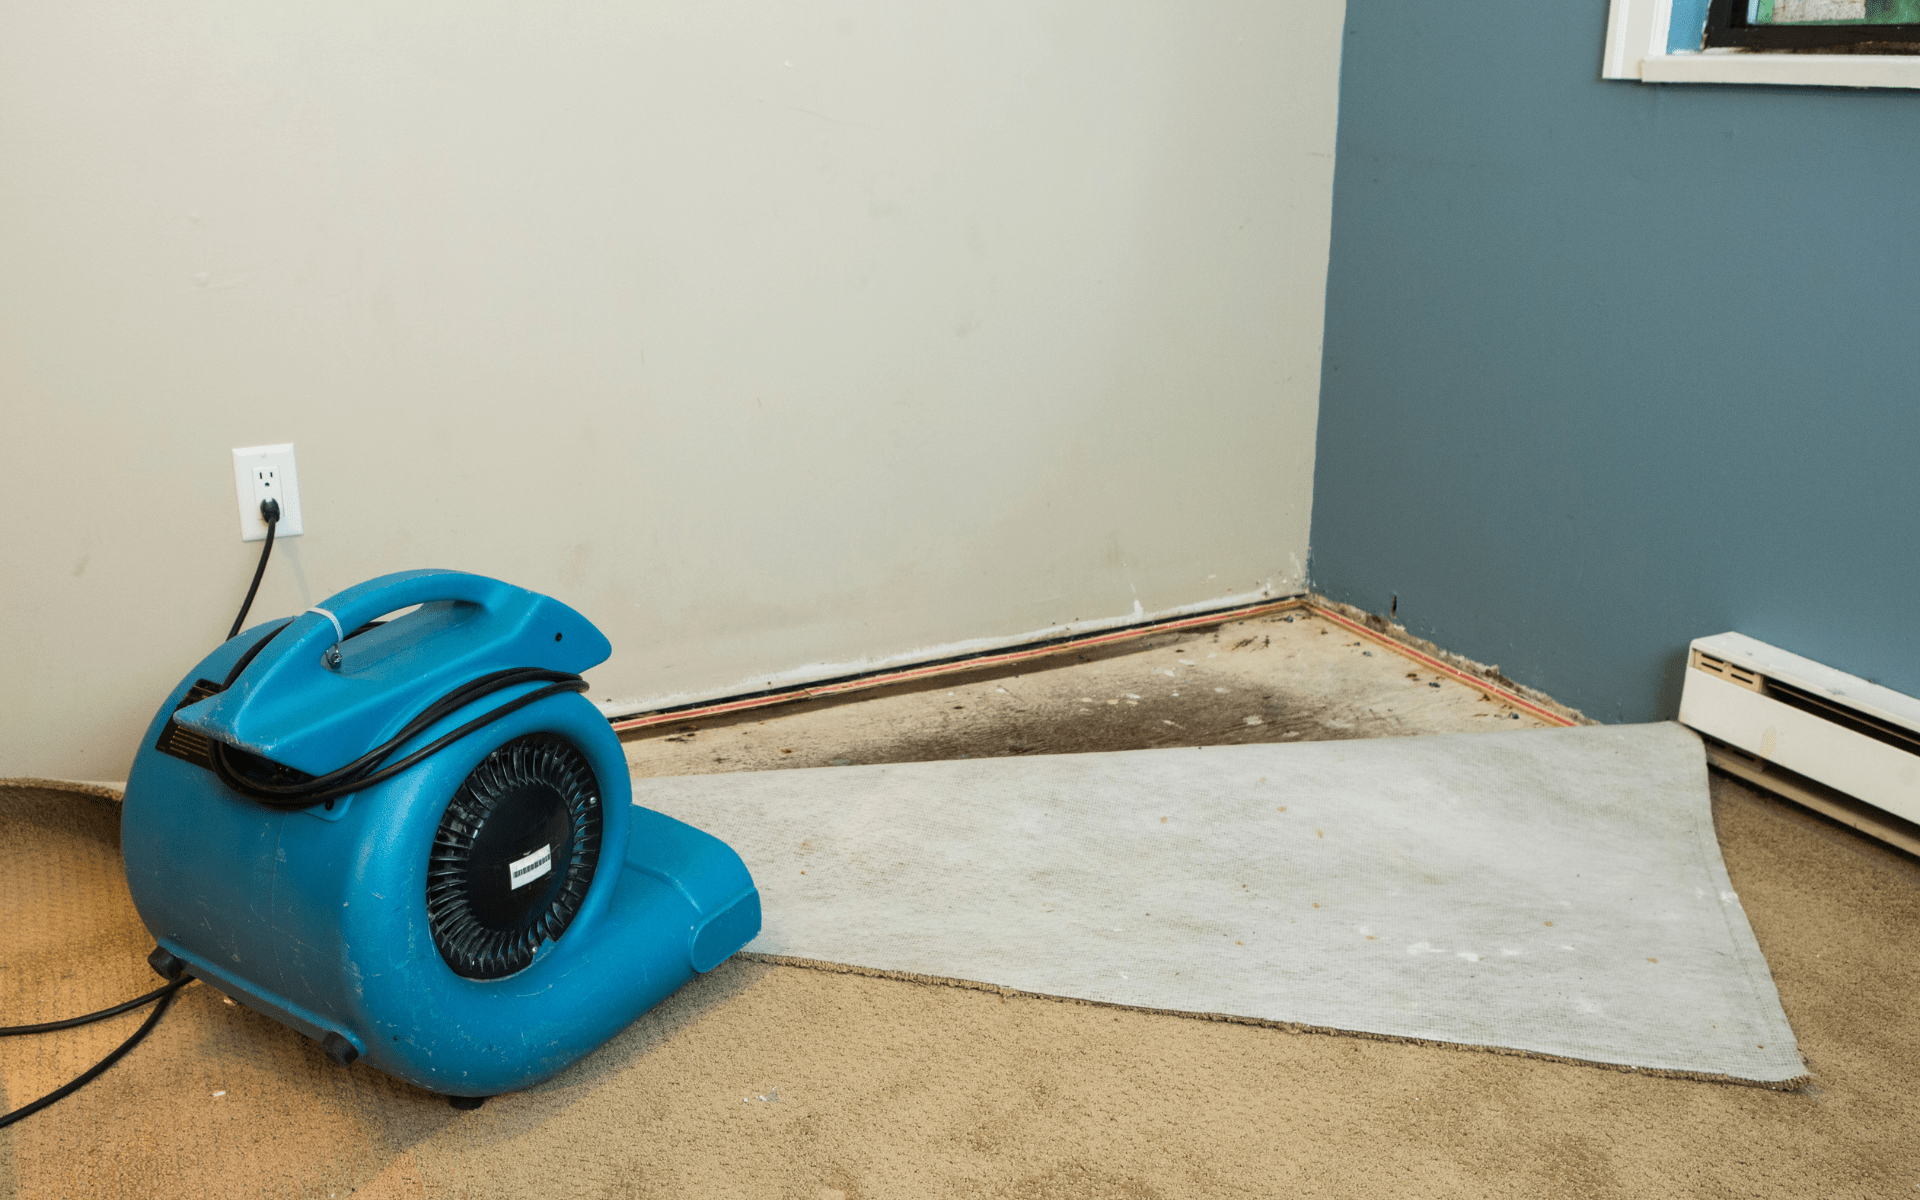
Drying & Dehumidification
Powerful commercial dehumidifiers and air movers dry out materials thoroughly from the inside. Temperature, air circulation, and humidity levels are closely monitored. Based on recommendations from the Institute of Inspection, Cleaning, and Restoration Certification (IICRC), wet carpets, padding, and other porous materials should be discarded after flooding to prevent mold and mildew issues. A structural drying system may be installed. Proper drying can take weeks or months for serious flooding.
Mold Remediation
If mold growth is detected, remediation involves removing contaminated materials, cleaning with antimicrobials, and ensuring spores find mold are no longer present. Protective gear prevents exposure during cleanup. An antimicrobial sealant is often applied afterward.
Sanitizing & Deodorizing
Once dry, surfaces are sanitized to remove bacteria, odors, mold spores, and residue left behind. Disinfectants or ozone treatment removes contaminants and refreshes the space. Air scrubbers filter out particles.
Reconstruction
Damaged drywall, flooring, wood, and other structural materials are removed and replaced. Belongings like furniture and electronics may also need replacement. The goal is to restore the home to its original, pre-loss condition.
Proper restoration dries out the home thoroughly to prevent future issues. It also documents damage for insurance claims and facilitates necessary repairs.
DIY Water Damage Dry Out Tips
While severe flooding requires professional restoration, you can tackle minor water damage yourself using these tips:
- Remove excess water with wet/dry vacuums and mops
- Lift wet rugs, cushions, bedding, etc. and lay out to dry
- Place bowls to catch dripping water beneath leaks
- Open windows and doors for cross-ventilation
- Run ceiling fans, portable fans, and dehumidifiers continuously
- Absorb humidity with desiccants like rice, baking soda, or silica gel
- Run air conditioning (dehumidify mode) or heating as needed
- Check moisture levels using a hygrometer
- Discard soaked porous materials like drywall, insulation, carpets
- Lay out books, papers, photos, etc. to dry and prevent mold
- Wipe down hard surfaces with disinfectant to inhibit mold
- Check for hidden moisture under floors, behind walls, in ventilation
Regularly monitor affected areas until fully dry. It may take days or weeks depending on the moisture level. If mold appears, take immediate remediation steps.
Repairing Common Water Damage Areas
Depending on where water invades your home, certain materials and locations are especially prone to damage. Here are tips for addressing common water-damaged areas:
Walls
- Remove lower drywall that absorbed moisture – at least 12″ above the high water line
- Inspect upper walls for moisture damage or mold
- Hang new, mold-resistant drywall once the framing has dried fully
- Prime and paint new drywall to match the rest of the room
Floors
- Pull up soaked carpets, laminate, or vinyl flooring
- Allow the subfloor to dry out completely, replace it if badly damaged
- Check hardwood flooring for cupping, warping, or mold – discard if so
- Install new carpeting, laminate, tiles, etc. after the subfloor passes moisture tests
Doors
- Inspect doors for warping and delamination
- Allow solid wood doors to air dry slowly to prevent further warping
- Discard and replace hollow core or paneled doors showing damage
Basement
- Pump out any standing water completely
- Look for cracks or openings allowing seepage
- Seal foundation walls and use a dehumidifier
- Replace damaged ceiling tiles, insulation, drywall
Crawl Space
- Identify and mitigate the moisture source
- Install a vapor barrier, ventilation, and dehumidifier
- Monitor humidity levels and mold periodically
Electrical
- Turn off the power at the breaker before the inspection
- Allow outlets and wiring to fully dry out
- Replace any outlets or fixtures showing corrosion
- Ensure the electrical system is safe before restoring power
Addressing water damage thoroughly protects your biggest investment – your home.
Preventing Future Water Damage
To help avoid water damage issues going forward:
- Inspect plumbing lines and water-based appliances for leaks periodically
- Update old pipes and install flood prevention systems
- Clean gutters and downspouts regularly
- Grade soil properly to divert groundwater away from the foundation
- Install sump pumps, dehumidifiers, and vapor barriers in basements
- Maintain proper humidity levels and ventilation
- Get flood insurance and create an emergency response plan
Ongoing maintenance keeps problems at bay. But even with diligent prevention, water damage can still occur. Being prepared to respond quickly limits damage and saves precious time restoring your home to comfortable conditions.
When to Call the Professionals
While minor leaks and spills can often be managed DIY, calling in a professional water damage restoration company is advisable in these scenarios:
- Large quantities of water exceeding moisture you can extract yourself
- Suspected structural damage or mold growth
- Sewage contamination requiring biohazard cleanup
- Sagging or water-logged walls, floors, or ceilings
- Standing water persisting for more than 48 hours
- Flood damage from natural disasters or severe weather events
- Water damage from “dirty” sources requiring professional cleaning agents
- Inaccessible excess water under materials or behind walls/flooring
- Concerns over high humidity levels and drying times
Water damage restoration is an extensive, multi-step process requiring specialized drying equipment, disinfectants, structural repair materials, and manpower. Leaving it to the professionals saves you time and headaches fixing complex damages. Insurance often covers these costs as well.
The Takeaway
While at first glance the task may seem immense, take heart in knowing that with proper planning, the right tools, and help when needed, you can overcome residential water damage events through methodical action. Don’t allow the initial shock to overwhelm reason and know that this too shall pass. Your home is resilient, and so are you. Stay the course, execute the plan, and you will prevail to once again enjoy your comfortable home restored. You’ve got this – with knowledge, preparation, and perseverance, water damage does not stand a chance against your resolve.

